EMAIL US:

Whole House Water
Filtration Systems
Save $500 For
a Limited Time!
Call or Text
Plan ahead. Know what to expect.
Whole-House Water System Installation: What to Expect
From choosing the right location to understanding ongoing care, here’s how to prepare for your AmeriFree Water installation.
Already scheduled? Get installation support ↓
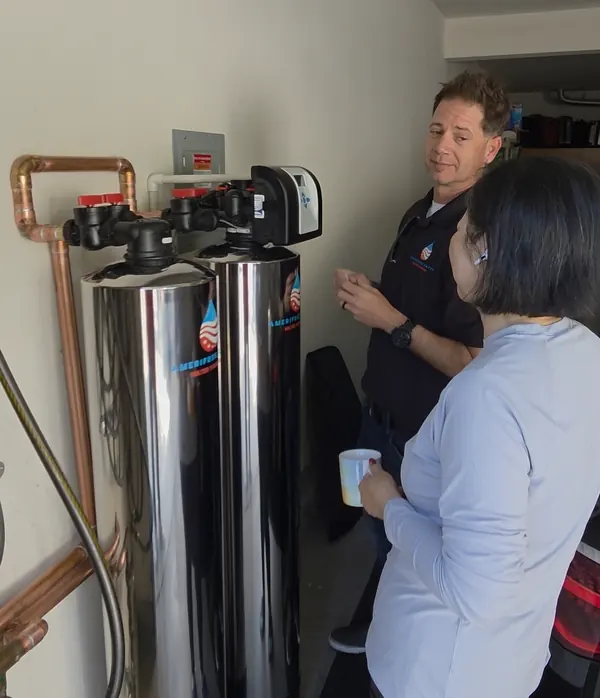
A clear plan for your home.
- 01 / BEFORE
Review & prepare
Discuss your water goals, confirm the equipment and proposed scope, and prepare access to your plumbing.
- 02 / DURING
Connect & start up
Your installer connects the selected equipment and follows its required startup procedures. Plan for a temporary water interruption.
- 03 / AFTER
Learn & enjoy
Review operation, bypass controls, and the care schedule so you know what your system needs.
Straightforward standard installations typically take about 2.5–3.5 hours. Timing varies with equipment, access, plumbing, and additional work.
Before installation
Start with the right location and scope.
Whole-house treatment usually connects to the main water supply or an existing treatment loop. Your layout, household demand, available space, and chosen equipment determine the installation plan.
Before scheduling, discuss the equipment location, plumbing access, outdoor conditions, and any drain or power requirements. Let us know about existing leaks, low pressure, or a planned use of your own installer.
Request a written scope that explains what is included, what is excluded, and what could require additional work.
Does your system need power or a drain?
There is no single requirement that applies to every AmeriFree system. Confirm the exact model’s instructions and the proposed site arrangement before work begins.
| System type | Power | Drain | What to confirm |
|---|---|---|---|
| FreedomOne FO1981 | Not required | Not required | Suitable space, plumbing connections, and access for filter replacement. |
| Backwashing whole-house filter | Generally required for the control valve | Required for backwashing | Exact valve requirements and an appropriate discharge arrangement. |
| Salt-based softener | Generally required for the control valve | Required for regeneration | Access to replenish salt and appropriate plumbing and discharge connections. |
| Optimus X14 tankless RO | Required | Required | Under-sink space, power, drain connection, and faucet placement. |
Drain routing, connection details, weather protection, and any permits must be confirmed by the qualified installer for the selected equipment and applicable local requirements. Do not assume discharge can go to a garden or any available drain.
Know the sequence before work starts.
- Confirm the plan. Review equipment placement, access, the written scope, and the expected water interruption.
- Connect the equipment. The installer carries out the plumbing and other work appropriate to the selected model. Discuss any unexpected conditions before additional work proceeds.
- Complete startup. The equipment’s instructions determine flushing, programming, regeneration, and other startup steps where applicable.
- Review the result. Ask the installer to explain connection checks, normal operation, and any observations or follow-up needs for your setup.
Use a qualified, appropriately licensed and insured professional. This page explains what to expect; the exact installation procedure comes from your model’s instructions and the site conditions.
After installation
Leave the handover with clear answers.
Before your installer leaves, ask for a walkthrough of your equipment and the documents you’ll need for ongoing ownership.
- Where are the bypass and shutoff controls, and how are they used?
- What does normal operation look or sound like?
- Are any additional flushing or startup instructions required?
- When do filters or media need replacement, and is salt required?
- Where are the owner’s manual and written warranty or guarantee?
- Who should you contact if you have a question or notice a leak?
Care varies by model. FreedomOne filter replacement is about every two years. Salt-based softeners need salt replenishment; RO filters and membranes have their own schedules. Follow the instructions for your exact equipment.
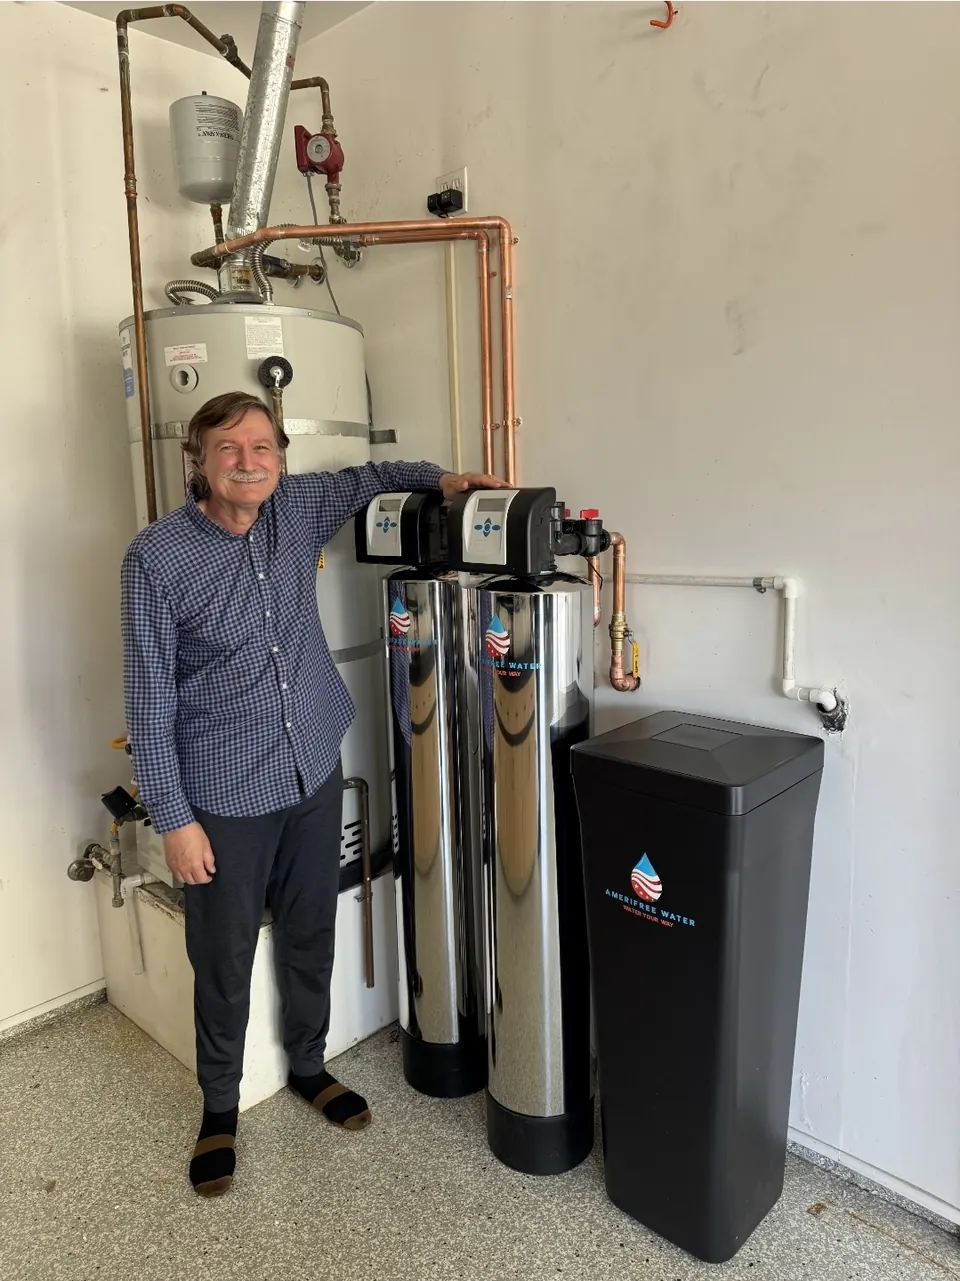
Common installation questions
Practical answers for planning your appointment.
How long does a standard installation take?
A straightforward standard installation typically takes about 2.5–3.5 hours. This is an estimate, not a guaranteed completion time. Difficult access, plumbing changes, equipment selection, and additional work can extend the appointment. Confirm the expected timing for your home before installation.
How long will my water be turned off?
A temporary water shutoff is normally needed while equipment is connected. The duration depends on the plumbing and installation scope. Ask your installer when the interruption is expected and plan ahead for drinking water, cooking, bathrooms, and any water-dependent equipment.
Do I need to be home?
Arrange access to the installation area and the relevant water connections. Confirm in advance whether an adult needs to remain on site and who can approve decisions or additional work. Plan to be available for the operating and care walkthrough.
What is included in standard installation?
Your written installation scope should identify equipment placement, planned plumbing connections, any drain and power requirements, and startup and handover arrangements. Ask what is included and excluded for your home. Do not assume that new electrical work, major pipe rerouting, permits, or repairs are part of a standard installation.
What could require additional work or cost?
Limited access, changes to existing plumbing, a new treatment loop, drain or electrical work, pressure issues, permits, and other site conditions can affect the scope. Ask for any additional work and pricing to be explained and agreed upon before it proceeds.
Can my system be installed outdoors?
Outdoor suitability depends on the exact model, local conditions, and the proposed location. Equipment may need protection from freezing, sun, weather, or impact. Follow the model’s installation instructions; insulation alone is not a universal solution. Confirm the proposed protection with your installer.
Can I soften only the hot-water supply?
A hot-water-only arrangement may be possible when appropriate for the equipment and plumbing. It leaves cold-water fixtures untreated and does not provide whole-home softened water. Discuss your goals and have the installer confirm whether the arrangement is suitable.
Who can install my AmeriFree Water system?
Use a qualified, appropriately licensed and insured professional for the work involved, following the exact model’s instructions and applicable local requirements. If you plan to use your own installer, discuss documentation, startup, and warranty requirements with AmeriFree before work begins.
How will I learn to use the bypass and care for the system?
Ask your installer to show you the bypass and shutoff controls for your exact setup, explain normal operation, and review the owner’s manual. Confirm filter or media replacement, salt needs where applicable, and whom to contact for service. Do not assume the warranty term is the maintenance interval.
Planning your next step?
Find the right system and installation plan.
Share your contact details. We’ll discuss your water concerns, household, and installation needs, then recommend suitable options.
Ask about equipment, installation scope, ongoing care, and written coverage before you decide.
No obligation to purchase.
Based in Irvine. Service availability confirmed by ZIP code.
Your details help AmeriFree respond to your inquiry. Privacy Policy.